Installation
Accepting Payment through Xero with Xendit
INFO
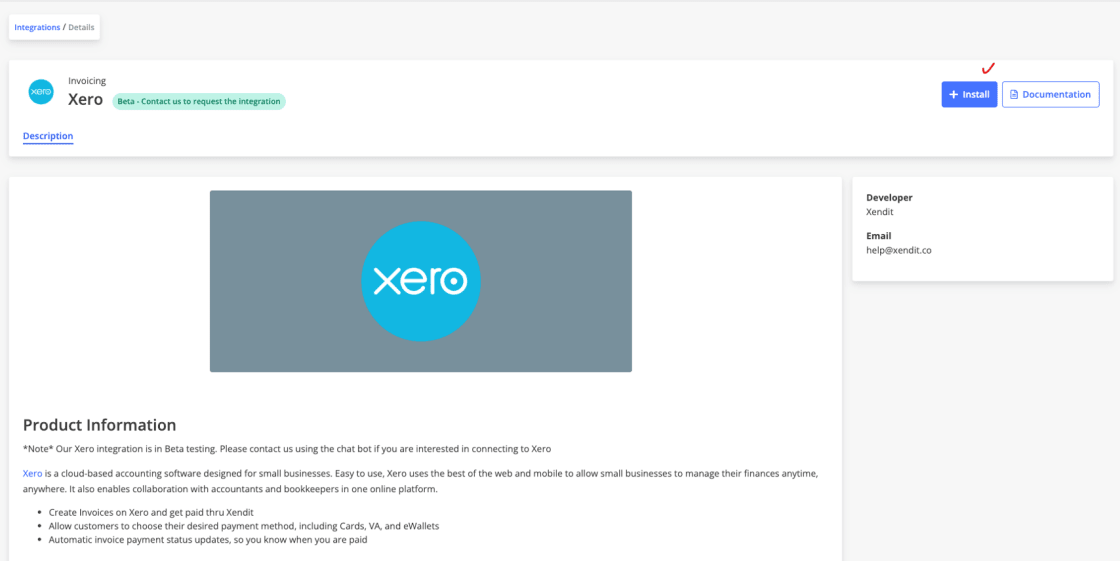
We are still in beta testing. If you wish to use Xero, please contact your Sales Representative or Account Manager.
This type of integration allows you to accept payment with XenInvoice from your Xero account.
To accept payment with XenInvoice, please make sure you have admin or developer permission on your Xendit account. Then you can follow this step by step guide below:
- Log into https://dashboard.xendit.co
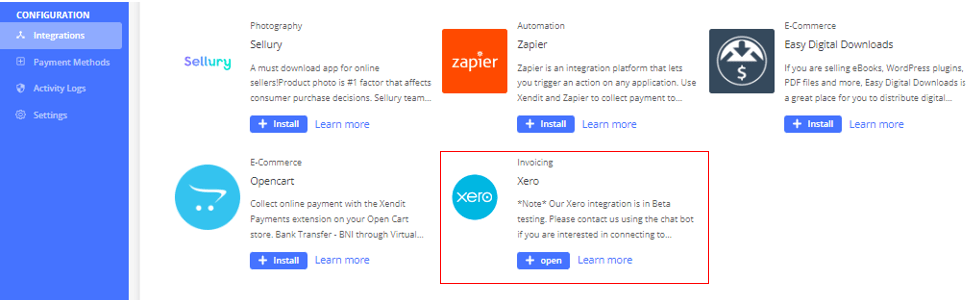
- Open Integrations
- You will see Xero in the bottom row. Click on the icon.
- You will be redirected to Xero details page. Click Install.
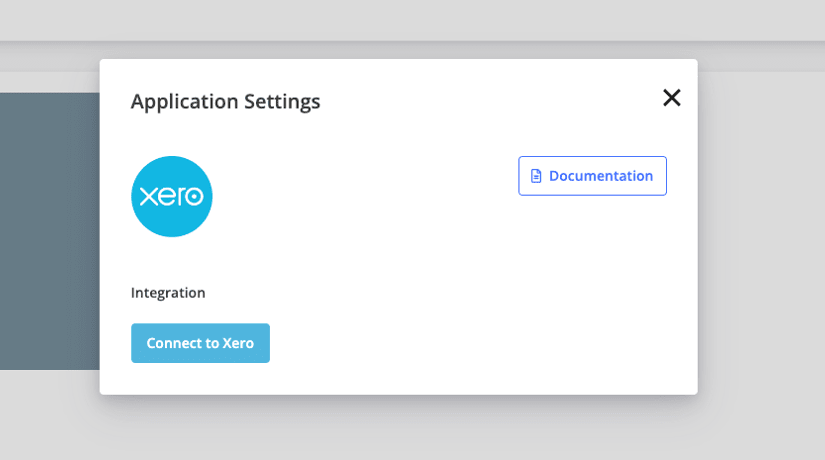
- There will be a pop-up page. Click Connect to Xero.
- You will be redirected to Xendit consent page, you can see which data that we need to access for your Xero integration.
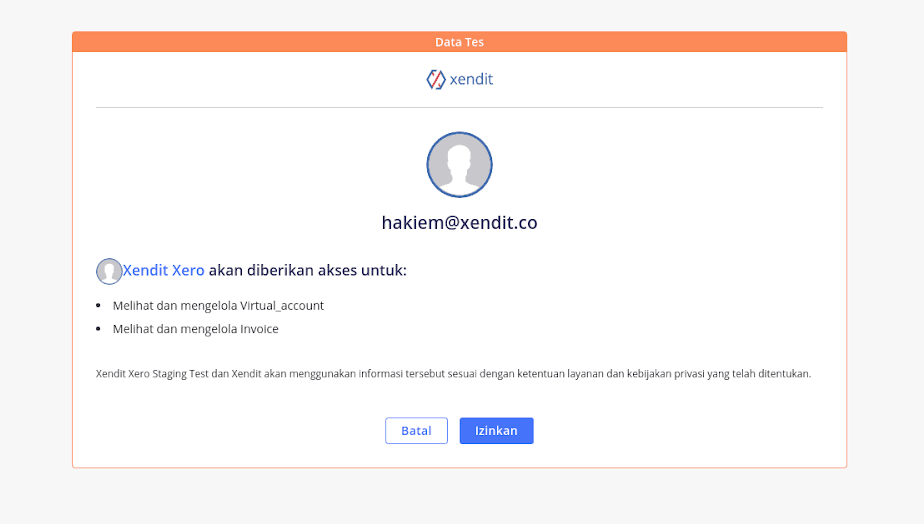
- Click “Allow Access”
- You will be redirected to Xero login page and Fill your Xero's credential
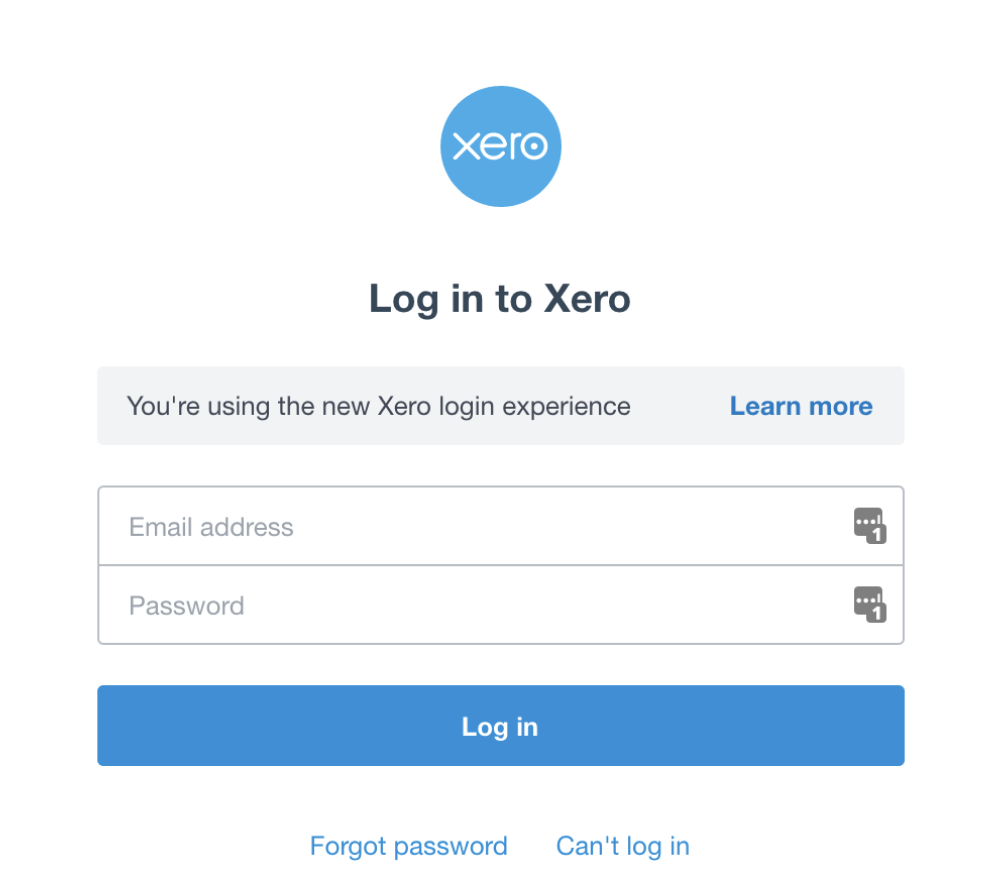
- Click login
- You will see access that we need to create invoice from Xero Invoice, click Allow Access

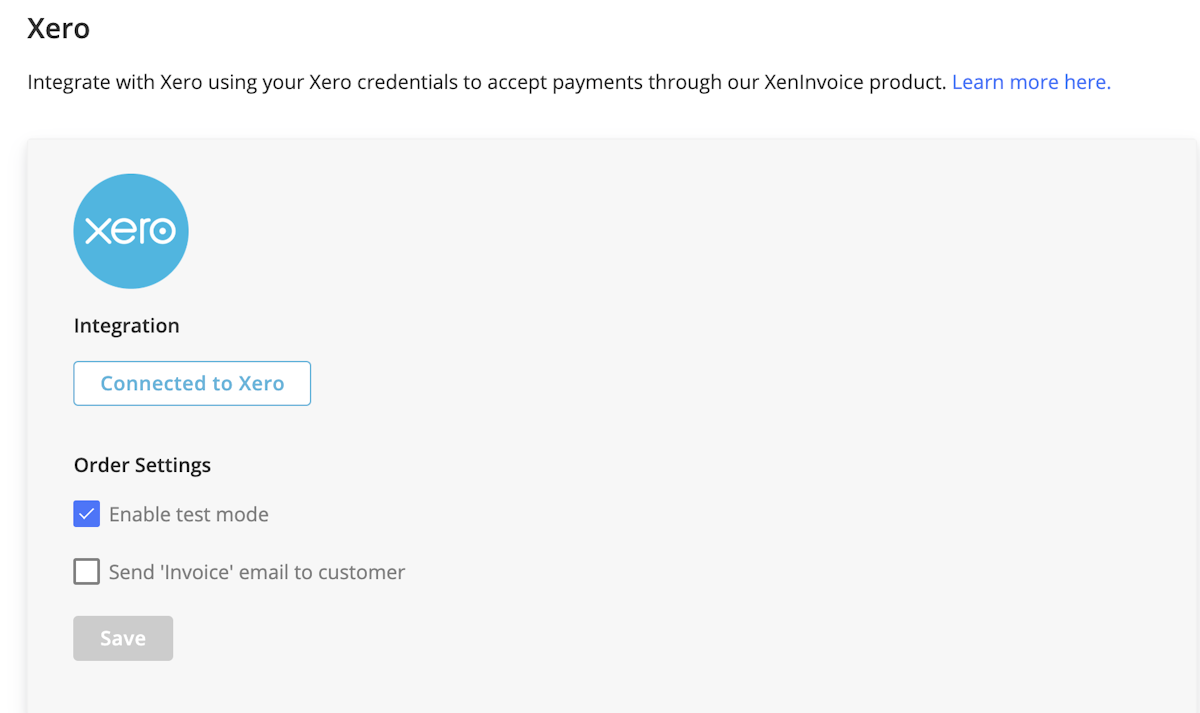
- Once done, you will see this in your Xero Settings
Create A Custom URL in Xero
- Log into https://login.xero.com
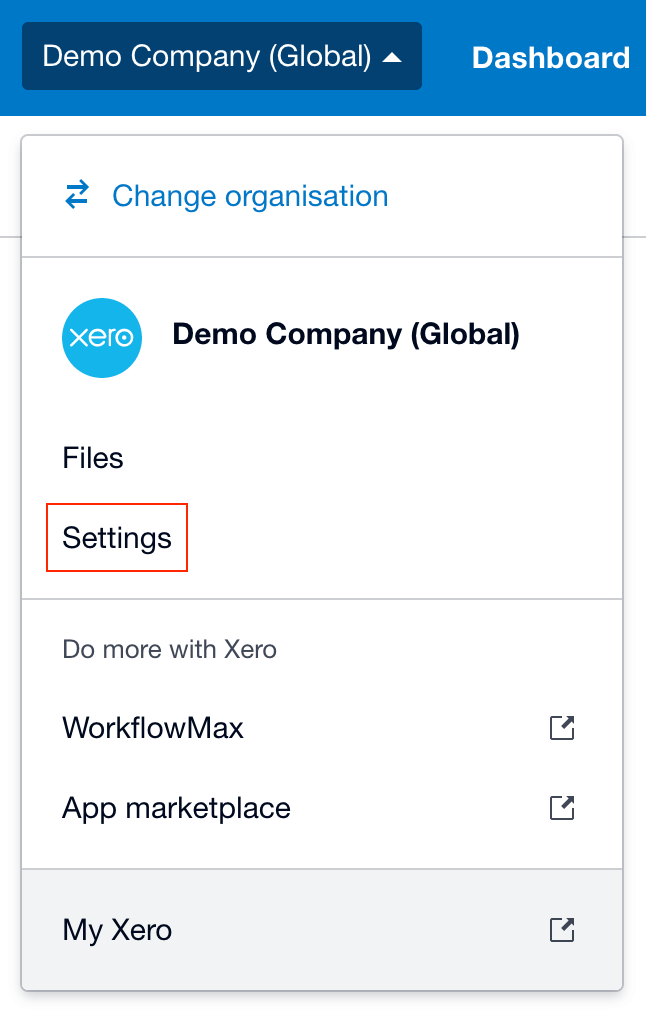
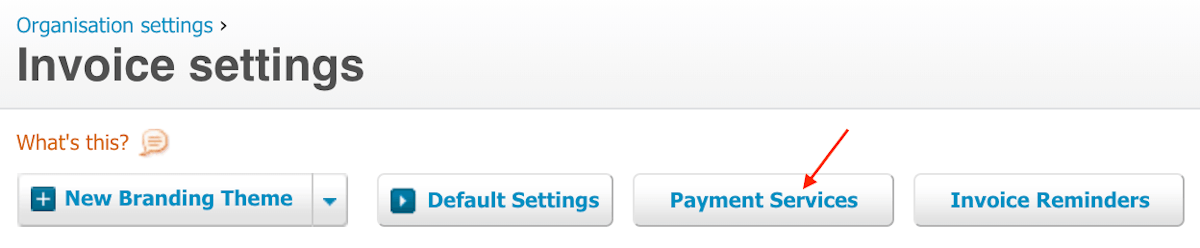
- Click on the organization name at the top left, select Settings
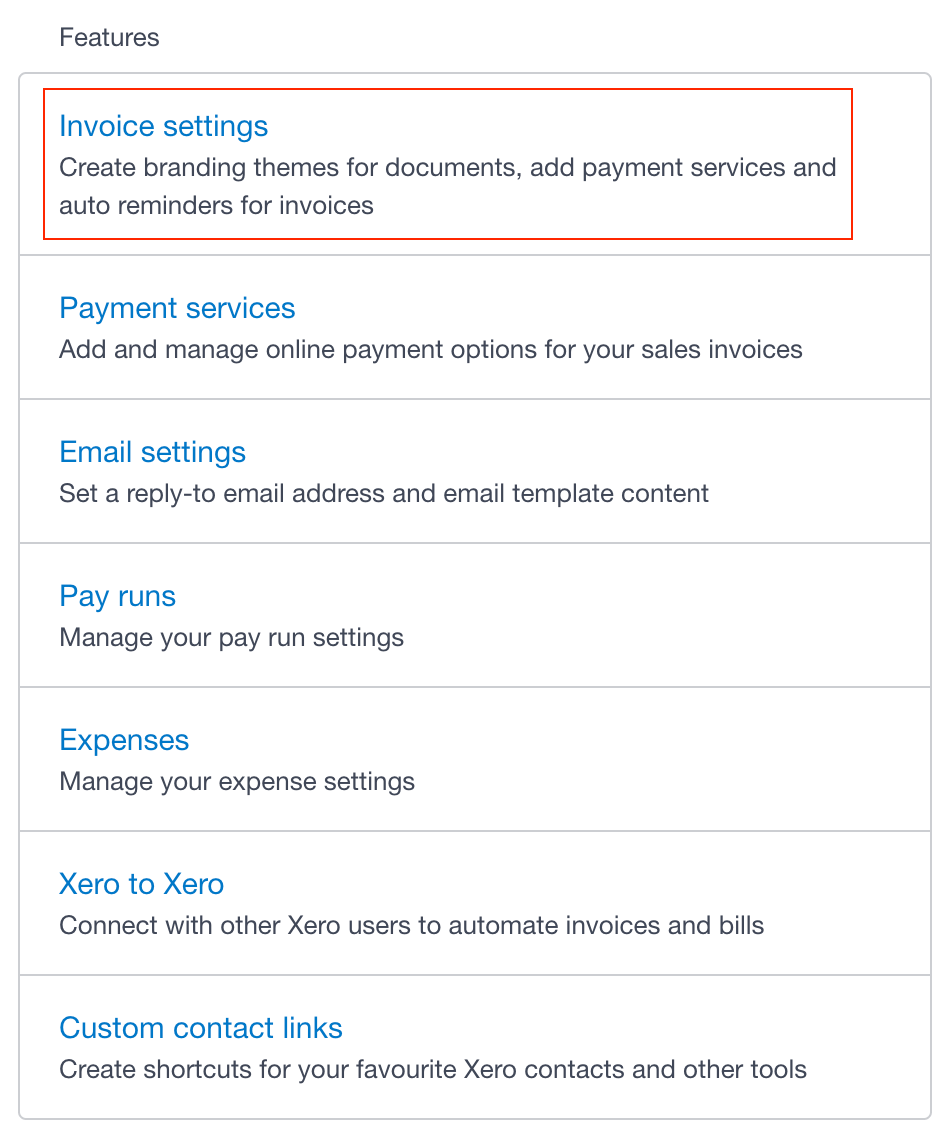
- Under Features , select Invoice settings
- Then select Payment Services
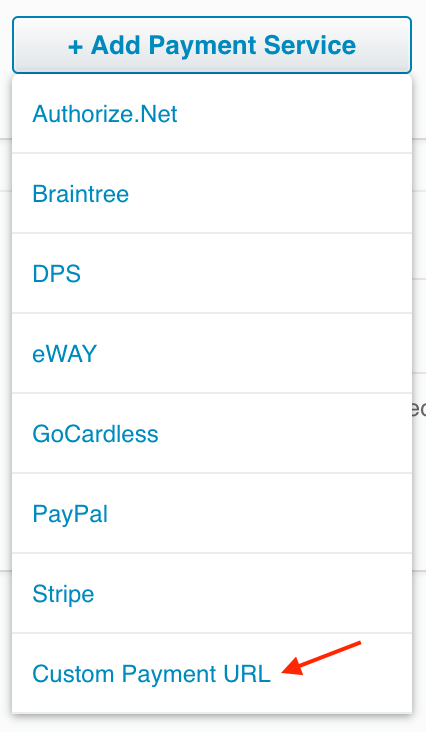
- Click on + Add Payment Service

- Select Custom Payment URL
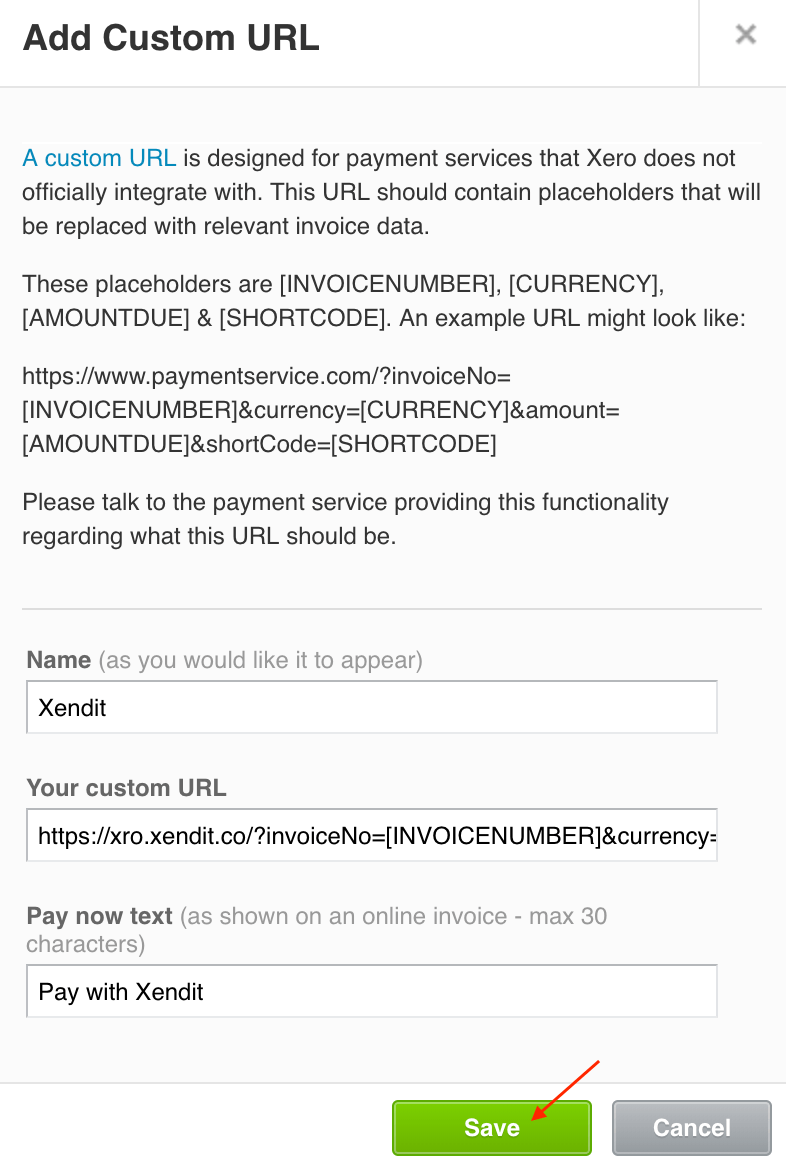
- Enter name of how you would like it to appear (E.g. Xendit)
- Enter your custom URL
https://xro-gateway.xendit.co/xero/custom-url?invoiceId=[INVOICEID]&invoiceNo=[INVOICENUMBER]¤cy=[CURRENCY]&amount=[AMOUNTDUE]&shortCode=[SHORTCODE] - Enter pay now text (Pay with Xendit )
- Click Save
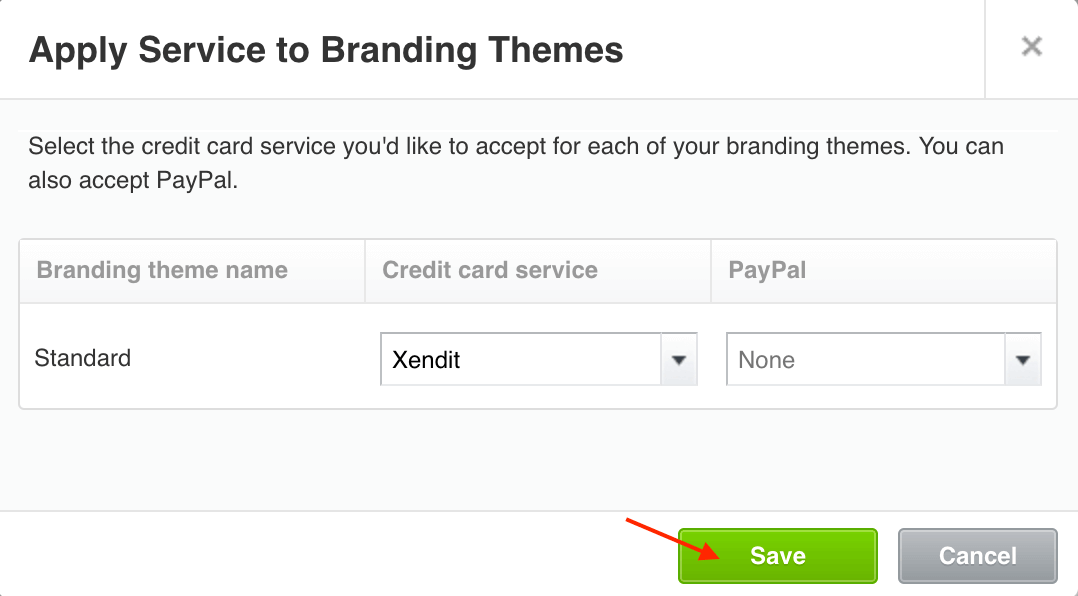
- Click on Manage Themes
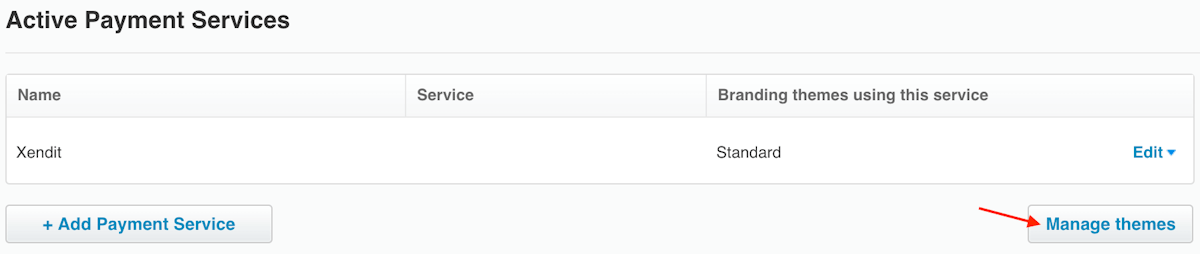
- Under Credit card service , select the name that you’ve entered earlier (#6 ) then click Save
Last Updated on 2023-12-22