Installation
There are 2 ways to integrate WHMCS with Xendit:
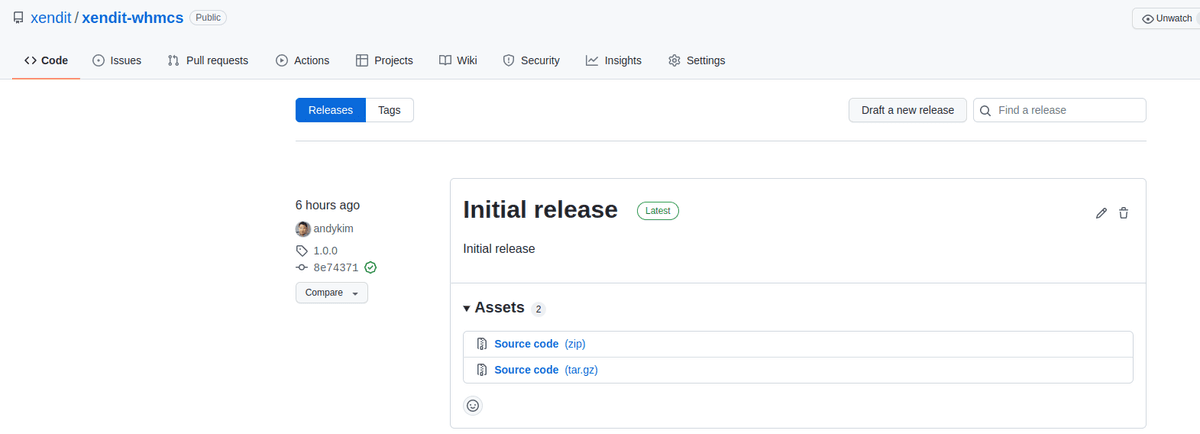
- From GitHub repository: https://github.com/xendit/xendit-whmcs/releases
- From WHMCS Marketplace: https://marketplace.whmcs.com/product/6411-xendit-payment-gateway
How to Integrate from GitHub Repository
- Go to GitHub repository, and download the latest version.
- Extract the zip file and you will see the folder name
modules.
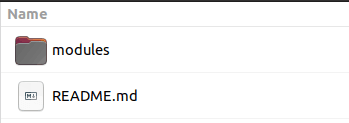
- Copy folder modules to the root WHMCS directory
- Copy
modules/gateways/xenditto your<root directory>/modules/gateway - Copy
modules/gateways/callback/xendit.phpto your<root directory>/modules/gateways/callback
- Copy
- Verify the folder is copied correctly
- Go to
modules/gatewaysand check the folderxenditand filexendit.phpare already there - Go to
modules/gateways/callbackand check filexendit.phpis already there
- Go to
- Activate the Xendit module
- Login to the admin dashboard
- Go to System settings > Payment Gateways > All Payment Gateways
- Activate Xendit Payment Gateways
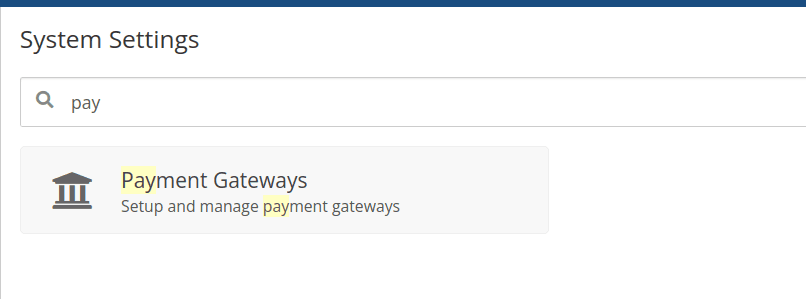
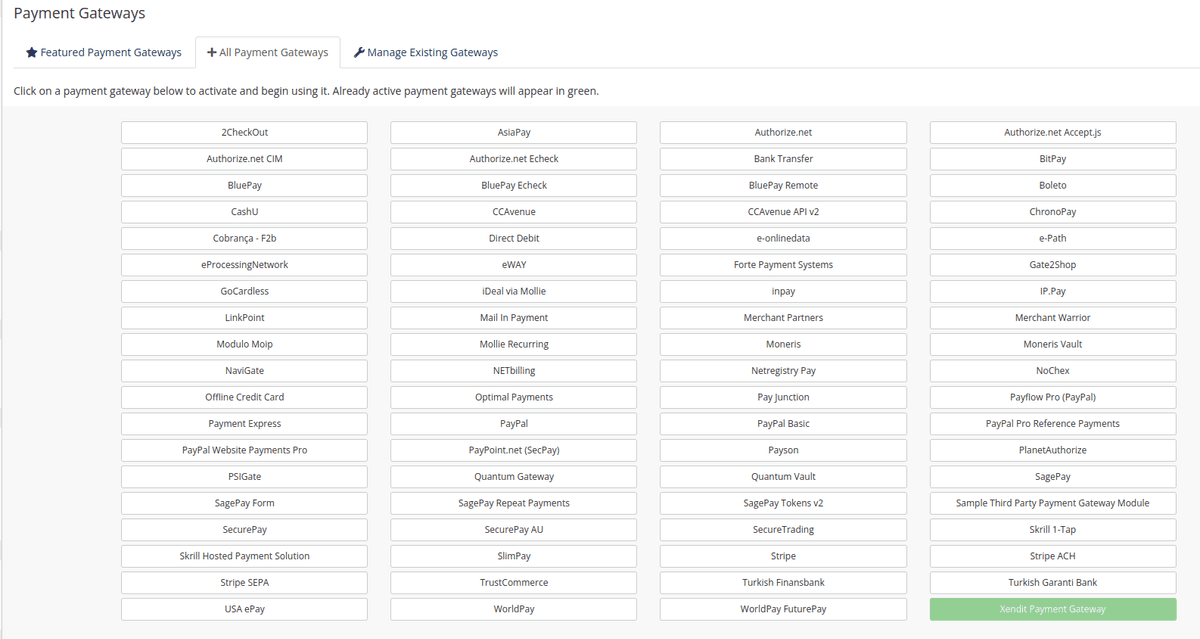
- Xendit Payment Settings
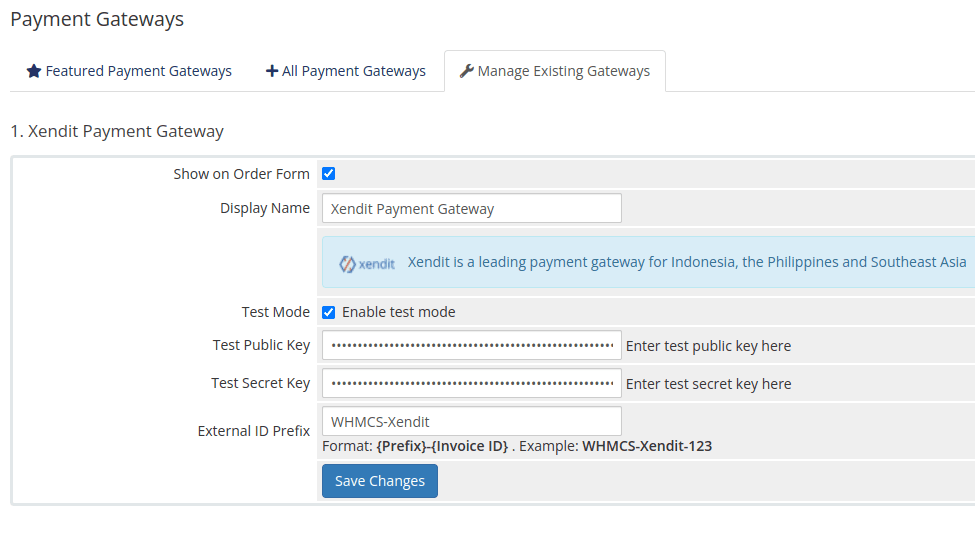
On the Payment Gateways page, click in the tab Manage Existing Gateways and fill in the input Public key/Secret key. Get your API keys from here.- API Secret Key Permission:
- Money in: WRITE
- Money out: NONE
- You can choose to enable Test Mode for testing.
Note: for test mode, use the API keys from your Test mode Xendit account. For live transactions, use your API keys from your Live mode Xendit account.
- API Secret Key Permission:
- Verify on the checkout page
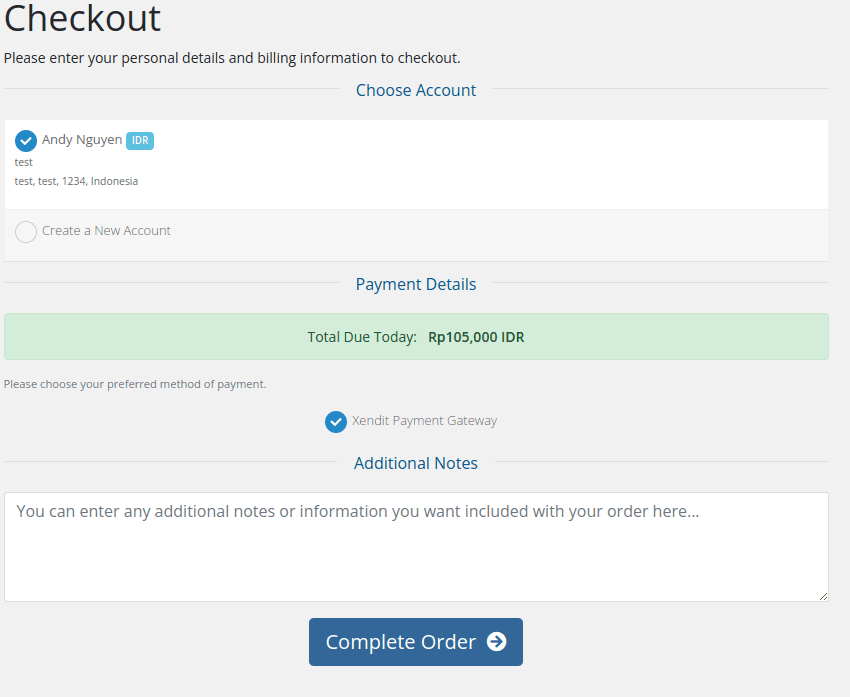
Now you can try to add a product to your cart and go to the checkout page to see if the Xendit Payment Gateway is enabled.
Optional: Firewall Whitelisting
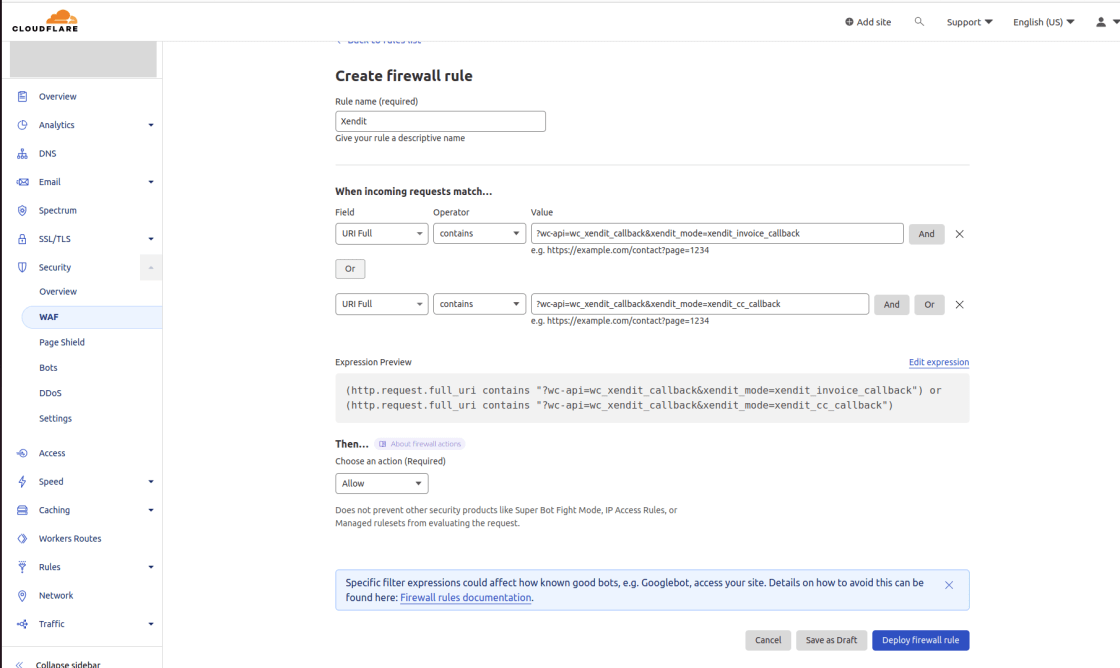
If you happen to use firewall, there's an optional step, which is to whitelist Xendit Callback URLs in order to avoid unreceived callback:
- WHMCS:
<merchant_site>/modules/gateways/callback/xendit.php
You can input these URLs when creating firewall rules. Example below is the display if you're using Cloudflare:
Last Updated on 2023-11-29